Creating an animation for "Enemy 1"
The artifact I've been working on during this past week has been the animation for "Enemy 1".
The animation I've made is going to be used for our the first enemy out of two in our game project.
It will represent our enemy moving around the level and towards the player.
 |
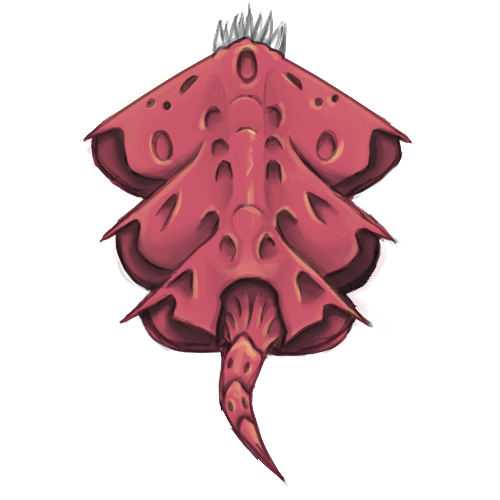
| Enemy 1 version 1 |
The animation takes it's inspiration from snakes, moving their tail back and forth, as well as an eel in water, since our game is set out in space with zero gravity.
My foundation for animating the enemy originates from the first sprite I made. That sprite had to be a representation of what the enemy would look like in-engine. So any movement wasn't necessary at the time.
After the test in-engine was successful I started working on animating the enemy. I used Photoshop CS6 during the entire process since it's the software I'm most familiar with.
 |
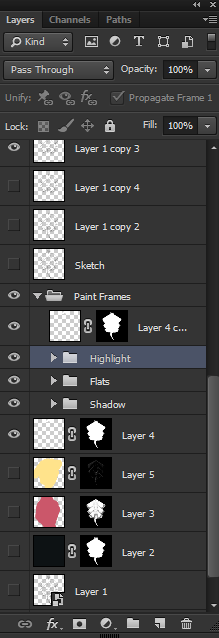
| 4 base layers, respective folders contains required layer copies for the frames (10 layers in each folder) |
The way I used Photoshop to animate was by creating"Frame Animation". The reason I used frame animation and not a video timeline was because of the multiple layers I had already created for the base sprite.
I have yet to figure out how to animate using layer masks with the video timeline option.
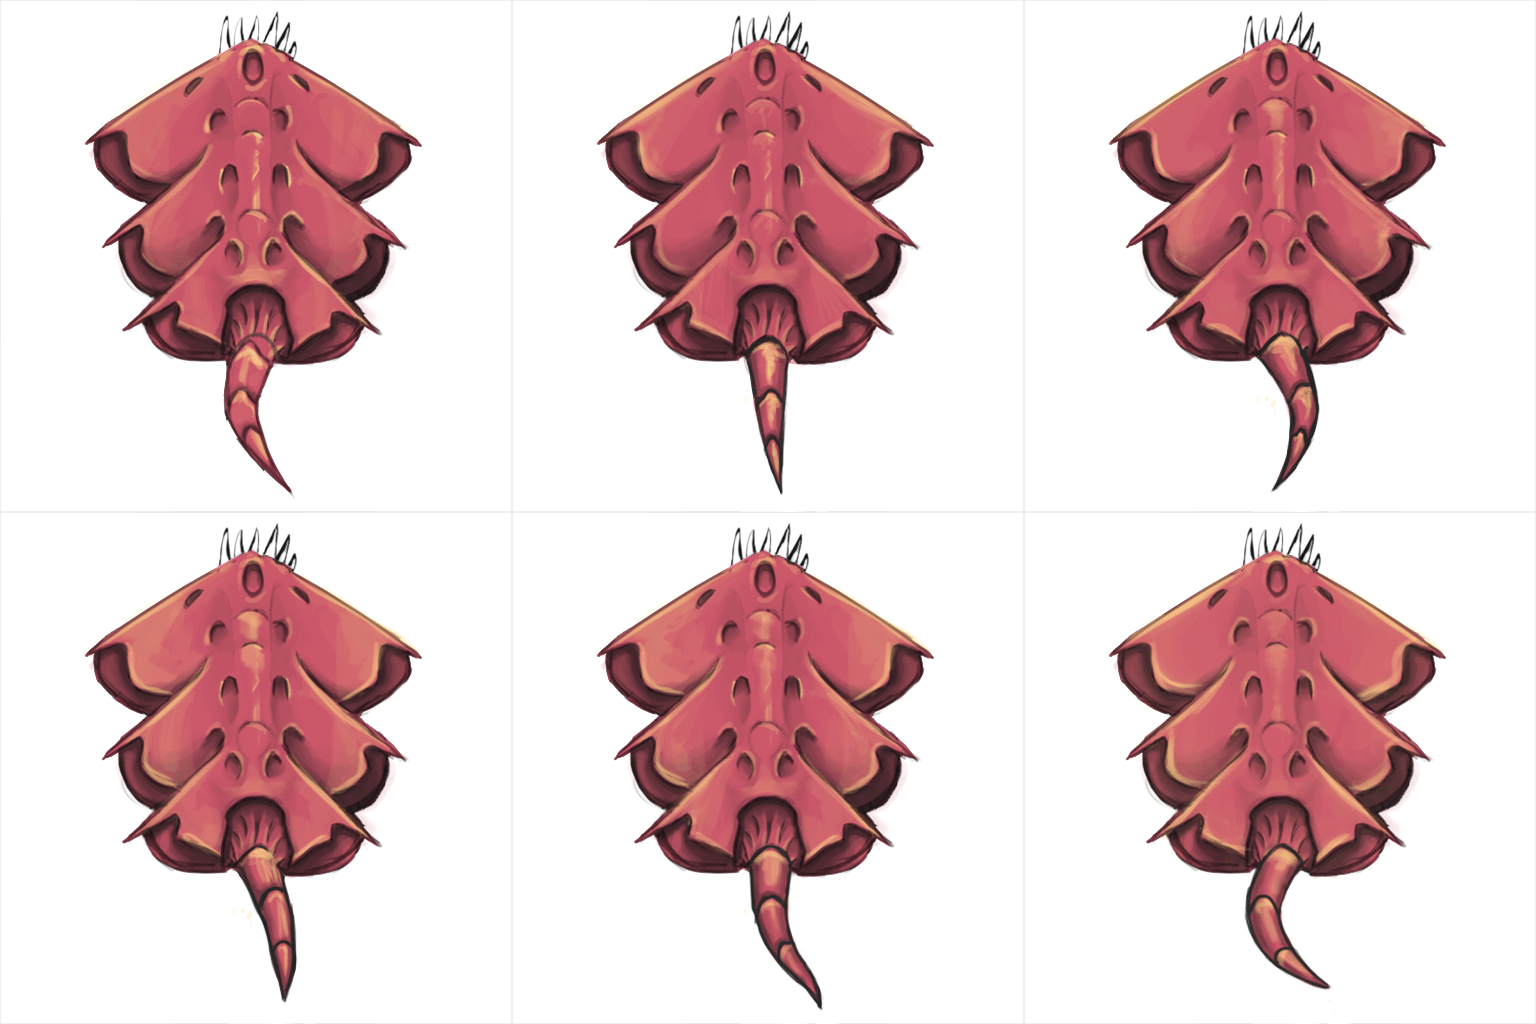
I approached the frame animation by creating a new layer for each frame in the animation. Painting every shadow, diffuse and highlight color by hand.
This approach was very time consuming but I had a lot of control over every single frame. I could edit every single detail if needed, the downside was navigating all the layers.
| The Frame Animation Timeline |
This was almost 40% of the work I put into the actual artifact, since it was one big hurdle to overcome. The lack of knowledge with animation was a big set back.
So I had to reference a lot of videos of what to think of when animating. It was a struggle but the end result is decent in my opinion.
I am going to create an iteration on the current animation based off our teachers critique today, animating the entire body moving in synchronization with the tail.
This will give a more believable look to the enemy, and since I have a good grasp on animating in Photoshop now the result will be easier to produce.
 |
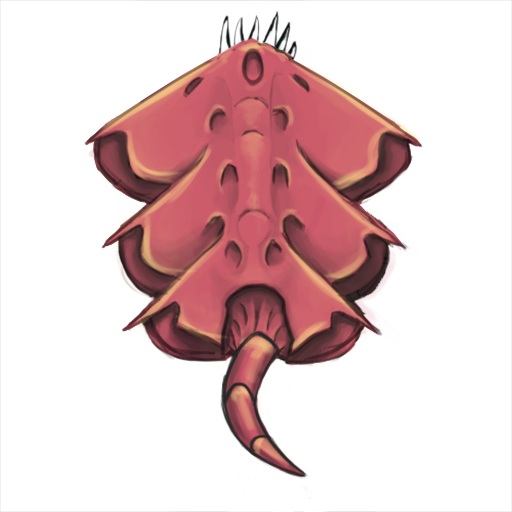
| Simplified Version (Enemy 1) |
 |
| Enemy 1 Animation |
Hej Lucas!
ReplyDeleteIntressant läsning. Jag har själv nyligen suttit och kämpat med liknande uppgift. Man förstår vad du har gjort, hur du har gjort det och varför du har gjort det du har gjort. Dina bilder i inlägget är informativa och det är schyst att du har lagt in prt sc på hur ditt arbete i photoshop ser ut. Det finns många olika vägar att jobba med animationer på så det är spännande för mig att se hur du arbetar! Du jobbar med ett ganska svårt monster med många delar som ska animeras men den ser jävligt snygg ut. Jag tycker att du har fått till rörelsen på svansen väldigt fint, du har lyckats få till en cool 3d effekt med din skuggning och ljussättning.
Det är för mig lite svårt att se vad highlightsen på resten av kroppen har för funktion men kan tänka mig att du har en tanke bakom dem som fram när du animerar hela kroppen :) När vi pratade vids för några dagar sedan pratade du om att kanske göra en dragspels effekt, och jag tror att det inte vore så dumt. Med dragspel menar jag att du animerar sidorna som att den har tre vingar. Ett till förslag är att du gör någonting runt munnen, får tänderna att röra på sig lite. Den kanske andas kraftigt med öppen mun? :D
Avrundningsvis; bra skrivet och jag är mycket intresserad av att se slutprodukten!
//Danielle