Creating environment assets
Last week I tried a new approach to modelling the environment assets for TALE, our big game project game.
The workflow is summarized with 4 steps:
1. Concept
2. Sculpt
3. Re-meshing (with Blender using the Shrinkwrap modifier)
4. Baking normal maps from the high poly sculpt (in Blender)
The workflow is summarized with 4 steps:
1. Concept
2. Sculpt
3. Re-meshing (with Blender using the Shrinkwrap modifier)
4. Baking normal maps from the high poly sculpt (in Blender)
(text is placed above the related image)
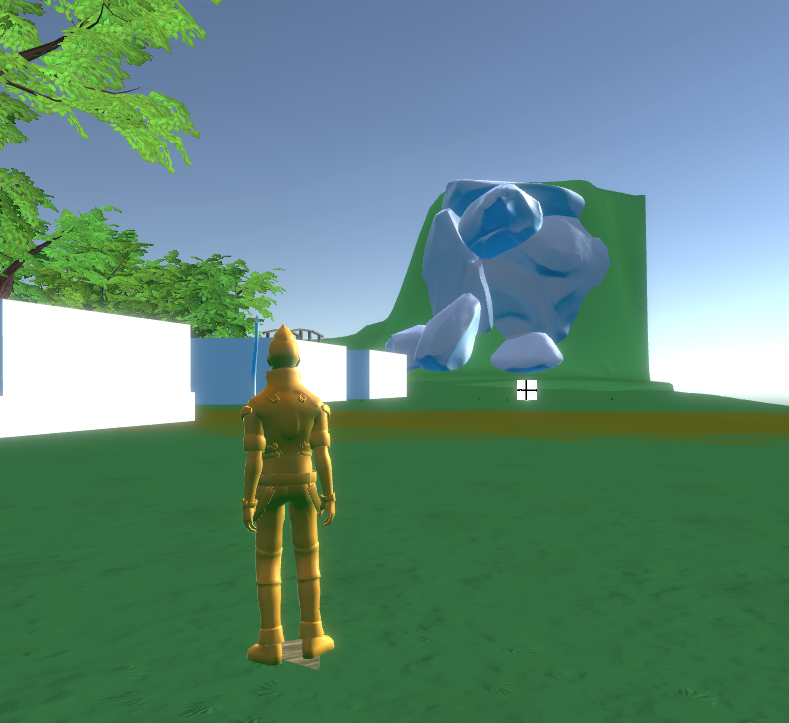
First I take a desired screenshot of the terrain that needs an asset
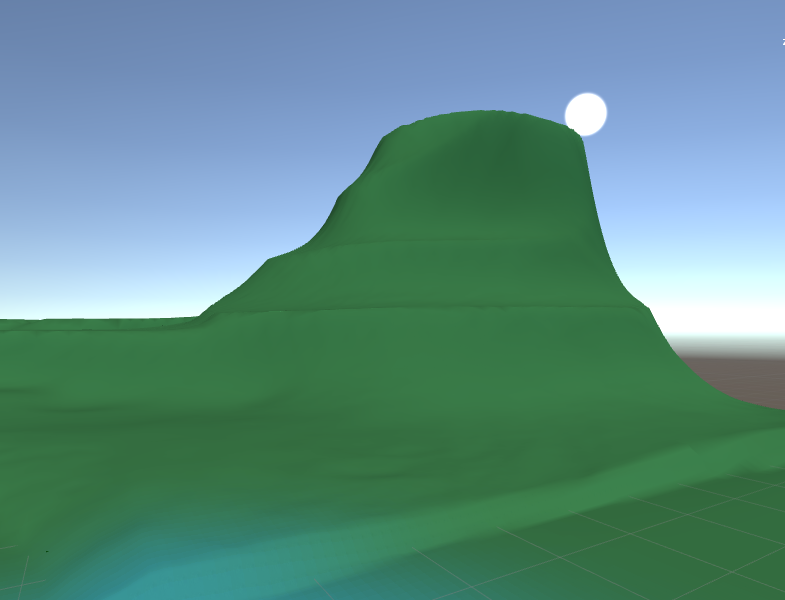
Then I do a paint over of the screenshot, estimating the size and shape of the asset
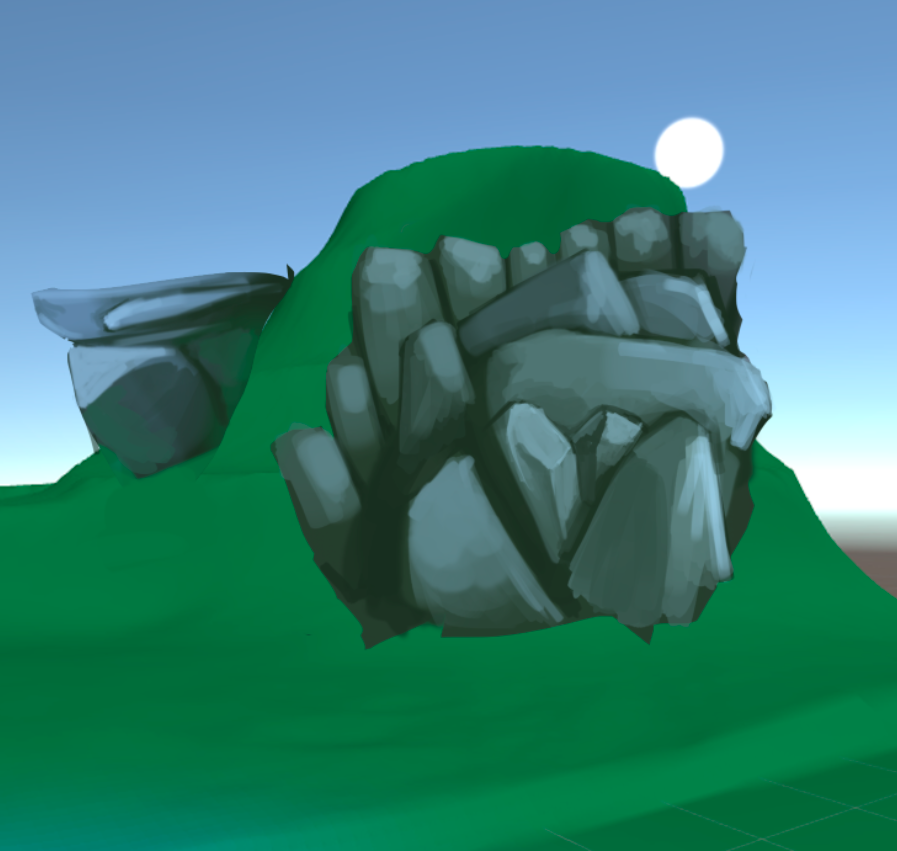
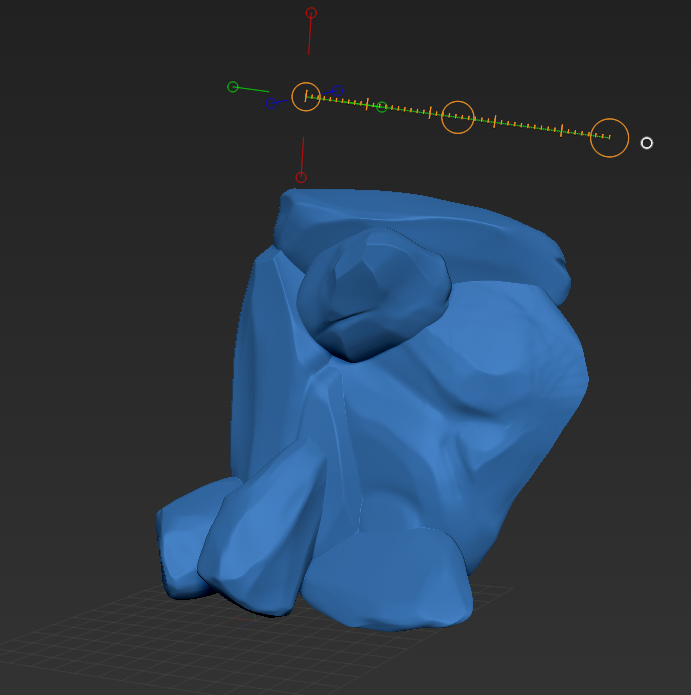
After the rough concept is done I start sculpting in Zbrush. Using dynamesh and I use the TrimDynamic brush a lot for the sharper edges
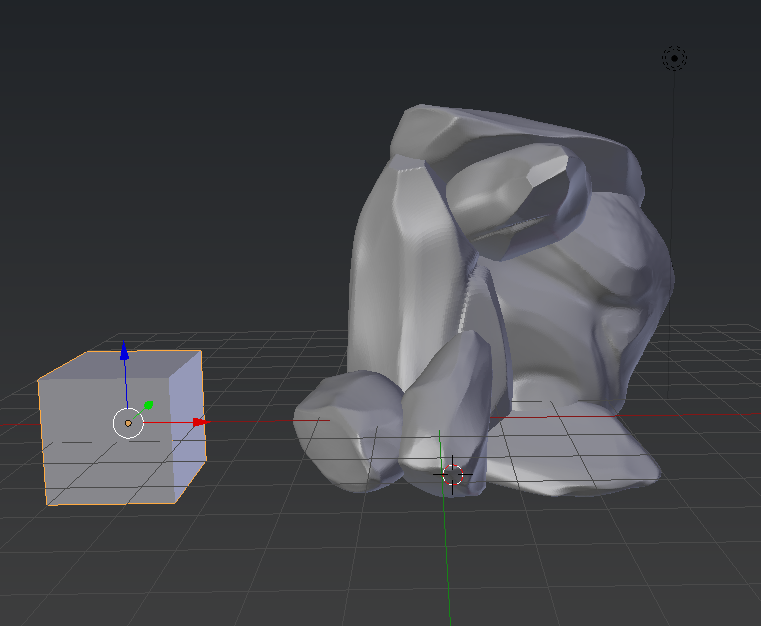
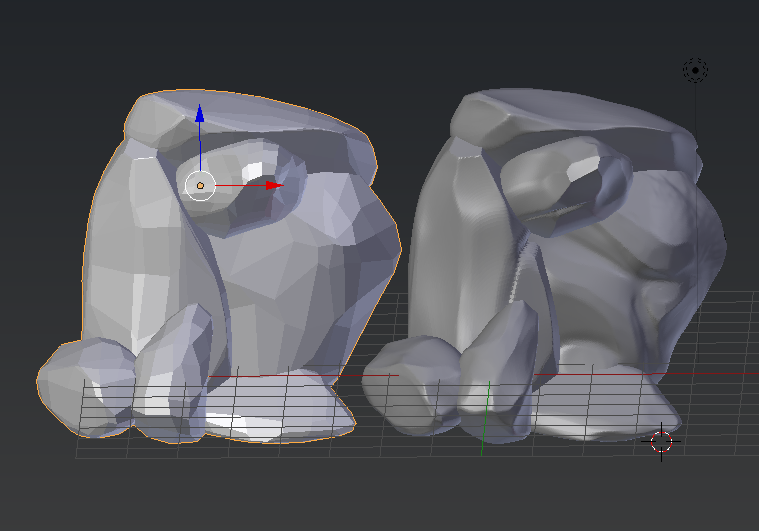
When the sculpt is finished I export the sculpt as an .obj into Blender. When it is imported I create a cube and then apply a multi-resolution modifier, adding enough polygons for the cube to be shrink-wrapped over the high poly rocks.
After the shrink-wrap is done, I start a basic UV unwrap attempting to keep all the seams out of view. This part was the most problematic because I had issues with the topology being rather inconsistent and there was a lot of pinching edge loops, on the more complex areas.
To solve this issue, I use the modelling tools in blender and manually try to correct the errors, cleaning up as much as possible.
This is how it looks in engine, without an albedo map, just the normal map applied.
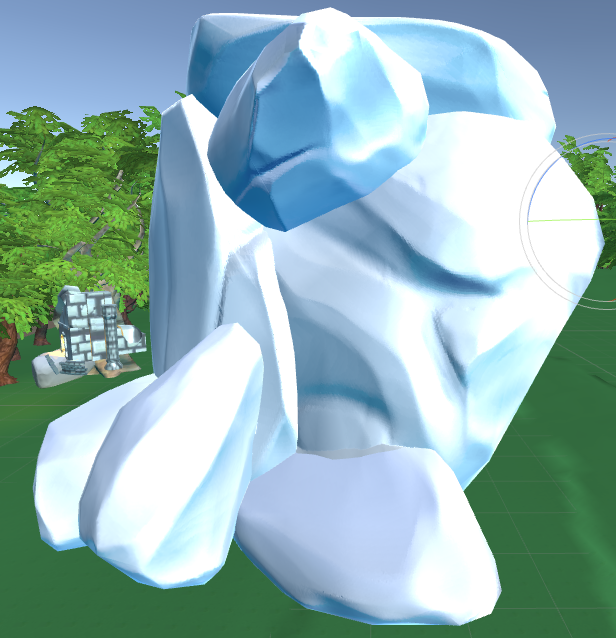
It looks fine at the moment. There are a bit of optimizing required, for example removing unnecessary faces from the model, and correcting a few artifacts from the Normal map bake.
No comments:
Post a Comment